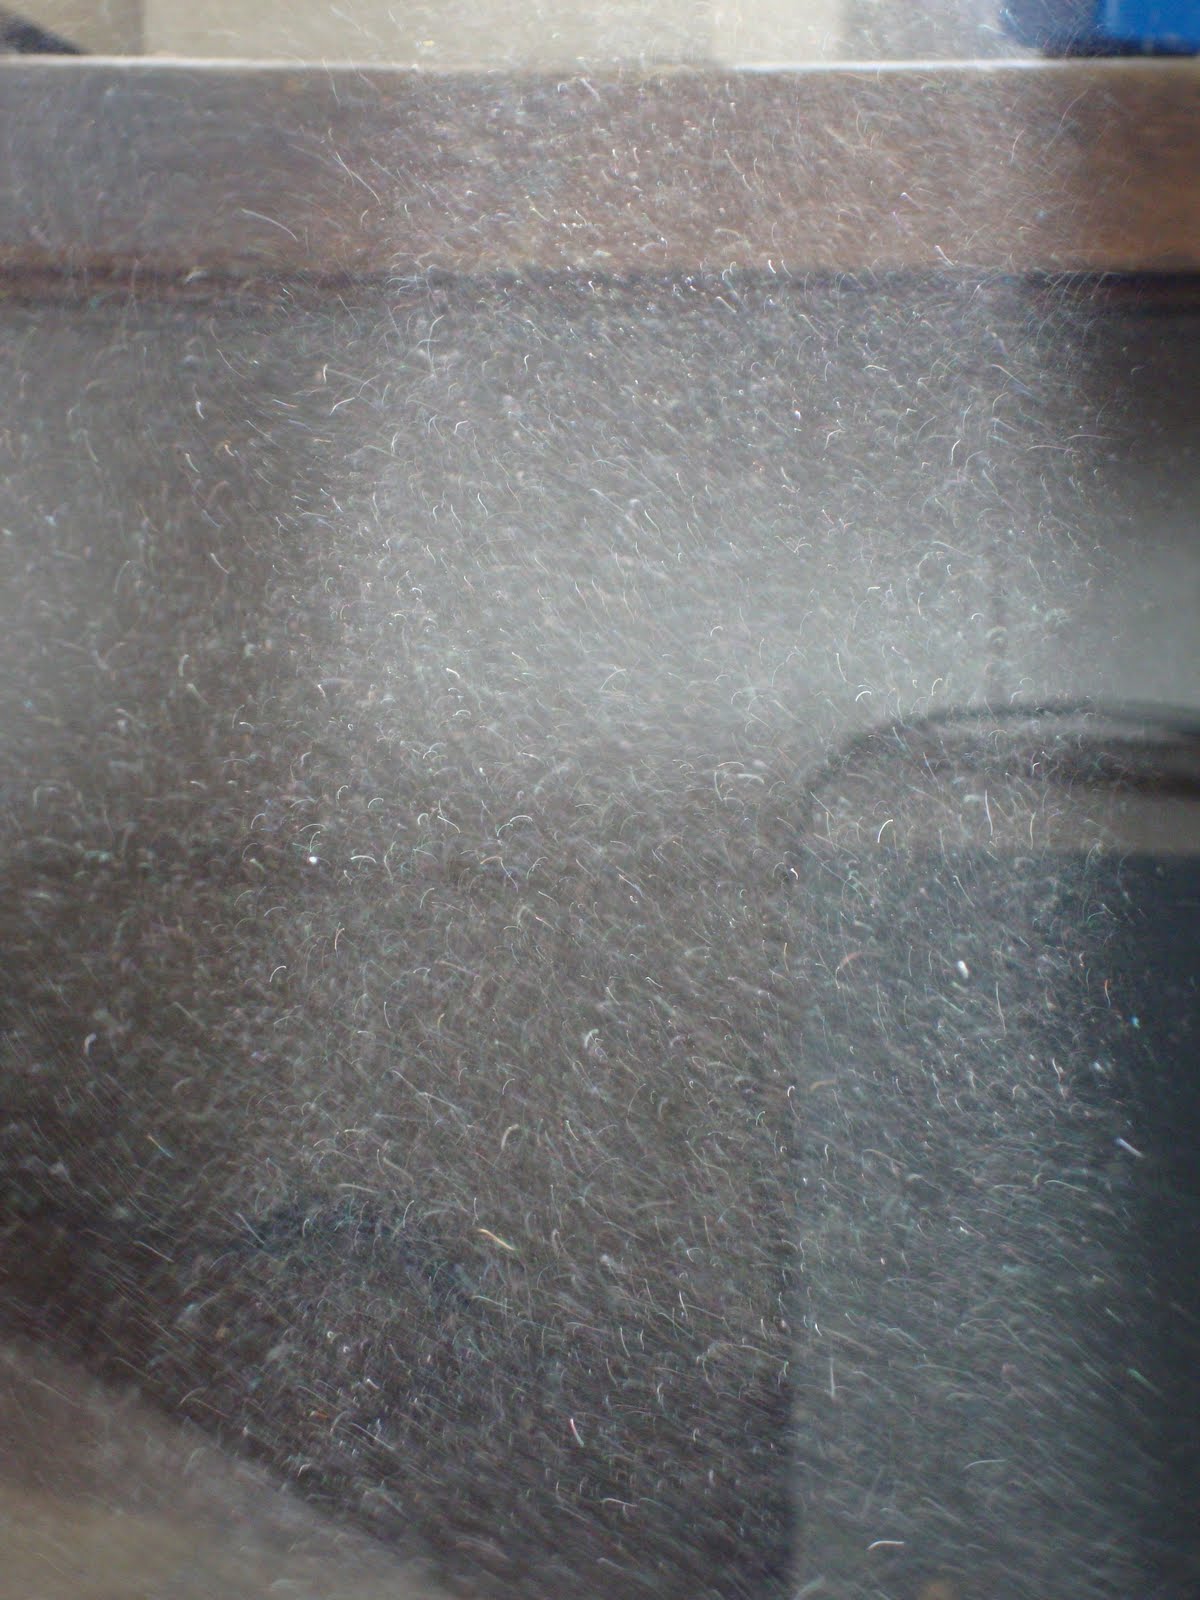
"Art washes away from the soul the dust of everyday life."
Pablo Picasso
(what had been a typical moment in my shop)
"Robust" has never been a word that I'd associate with my particular respiratory system. Ear, nose, and throat was a specialty created with me in mind, I think. So when it comes to working (or playing) in dusty noxious environments I've always been one to use masks and respirators. That kind of protection is a great way to keep my lungs clean and tidy.
Lungs are one thing, but a whole shop is another.
The more I use my shop the more I have saw dust forming drifts in, on, and around the varous machines,
and piling up in the corners. Now that I have a shop that's actually a nice place to spend time in I wanted a way to keep that space as tidy as the aforementioned lungs.
Enter my home-made dust removal system.
I checked out
Rockler and
Delta and all the other tool houses and saw their fine dust collectors. The common features are a fan motor anywhere between one half and two horse power, a 1 micron filtration bag which separates the dust and sends the filtered air back into the working environment, a collection bag which collects the dust, and a frame, usually on casters, upon which the whole thing is mounted.
I read all of the reviews for the various systems which commented on the health hazards of the dust, the filtration abilities of the various filter bags, the effectiveness of each type of fan motor in moving volumes of air, and the noise generated by the fan motor. Just as there is a wide range of quality in dust collection, there is a wide range in price. I concluded that the system I needed in my shop would probably be too loud to suit me and certainly too expensive for a man of means as modest as mine. But I am a
handy guy...
From the online site of
Penn State Industries I priced a very affordable, highly rated, and powerful one and a half horsepower fan motor as the heart of my home made system. My idea was to design a system in which the fan motor was actually housed outside of the shop thus eliminating most of the noise as well as the entire need for filtration, and those filtration bags alone represent about a third of the cost of a conventional dust collector. With the fan outside of the garage all I had to do was construct the ductwork and blastgates as well as a small ventilated and wired structure on the exterior back wall for the fan motor, connect all the machinery with hoses to the duct and I'd be all set. And it would be perfect.
And that's just about exactly how it went.
Recently a friend fixed me up with many, many sheets of 3/4 inch plywood that had started out as high-end packing crates for an Army contractor. I wanted to make this project using as much salvaged or on-hand materials as possible. Rather than buying metal ductwork I fabricated a 4" duct out of plywood that runs for about 16 feet along the machinery side of my shop.
Nailed, glued, and clamped it's ready to prime, paint and mount.
Just as this was going on, I heard a rumble coming down my mountain road and looked up to see this welcome sight:
The UPS man with my brand-new fan motor.
Right out of the carton it worked like a charm - a handful of sawdust sucked in and that same handful blown out the other end.
Putting the motor aside I finished and installed the ductwork. The brackets were made with scrap hardwood left behind by the guy I bought the house from.
At the end of the line is a clean-out, and the fancy knob on the lid is simply from an early test of my woodlathe (waste not...)
With other "just lyin' around" wood I fabricated the various blast gates which control the access to the duct (and vacum) for each machine.
Within the duct I built a gate to control the airflow. Here it is in the closed position:
and here, open.
Using a 2" hole saw, I made holes in the duct at each machine position,
overwhich the blast gates were affixed.
Evident here is the sliding gate that permits, or prevents, air flow from the machine to the duct.
Each machine has a dust port that connects, by flexible hose, to the blastgate.
Where's all this leading? you may ask, and I'm glad you did.
With the duct installed a connection had to be made to the fan motor. As the fan motor was to be installed outside of the shop a hole (or two) had to be punched through the concrete-block wall.
Through this 4" round hole a flexible aluminum duct would connect the interior plywood duct directly to the fan motor.
Back inside again, you can see that flexible duct. That little green wooden patch below is where I drilled the hole initially in the totally wrong place.
And that motor needs a dry and electrified place to reside which I began to build after the duct was complete.
That hole in the wall was located in very close proximity to the electrical line that goes out to my studio. I was able to easily tap into that line to provide juice for the fan motor, now seen here...
snug as a bug in its outdoor housing.
The scrap mahogany dogs, plus some weather stripping,
go a long way to keeping critters out.
The louvered vents provide passive airflow to prevent rust and mildew. That little chute on the side is what the sawdust comes blasting out of.
This handy little remote:
controls that yellow power box mounted on the wall. The fan motor is plugged into that box and I can turn it on and off from anywhere within fifty feet.
Tieing the table saw into the system was a real priority as that machine is a major dust producer. this 14 foot flexible 4" hose from Rockler does the job nicely:
That large diameter really pulls the sawdust. And when the blastgate is closed, as below...
there's no vacuum loss to affect the suction at the other machinery positions.
Keeping everything mostly dust-free, tidy,
and a nice place to simply hang out in.
Its all about doing it yourself with stuff that's (mostly) lying around.
And how satisfying that it actually works even better than I thought it would!
Come visit any time.
Mannie